Compiling custom chips to WASM
Custom components written with the Chips API can be compiled into WebAssembly (WASM) for use with the Wokwi VS Code extension or the Wokwi CLI.
The WASM binary can be compiled by GitHub Actions, a container, or locally. This guide will cover all three approaches.
The simplest way to get started is by cloning/forking the inverter-chip example repository from the Wokwi GitHub. You can then compile locally, use the dev container feature from VS Code, or push to GitHub to compile the WASM binary. This repository will also be referenced multiple times throughout this guide, so it is worth having a look at.
Configure your project
Before compiling your chip, you should make sure your project is configured properly to ensure that they can work in Wokwi.
Wokwi configuration
A custom chip requires a [[chip]] key in wokwi.toml. This key specifies the name and binary used by the custom chip.
Wokwi also requires a JSON file that describes the pinout of the chip. This JSON file should have the same name as the
WASM binary, but with its extension changed to .json instead of .wasm, e.g. inverter.chip.wasm is paired with
inverter.chip.json. To configure the chip JSON file properly, see the docs on custom chip definitions.
An example excerpt from wokwi.toml:
[[chip]]
name = 'inverter' # To use the chip in diagram.json, add a part with "chip-inverter" type.
binary = 'chips/inverter.chip.wasm'
Multiple chips can be added to the same project by adding multiple [[chip]] keys, each with different name and
binary values.
Source files
If you are cloning/forking the inverter chip repository, then you can skip this section.
If you are setting up your project from scratch, you need to ensure that the Wokwi C API is present within your source files. It is available from wokwi.com/api/chips/wokwi-api.h.
You need to ensure that it is included in your project, otherwise you will not be able to make use of the Chips API.
Compilation methods
GitHub Actions
If you have cloned the inverter chip repository, then it has been configured and is ready for you to modify it to your
needs. It will automatically compile the binary once a push is made to the repository, and will also automatically
generate a GitHub release if you push a tag that starts with a "v", e.g. v1.0.3.
If you did not clone the inverter chip repository and are wanting to configure your own actions, then consider looking at the build workflow file. If you do not want to use this action, then see the steps for compiling locally.
VS Code dev container
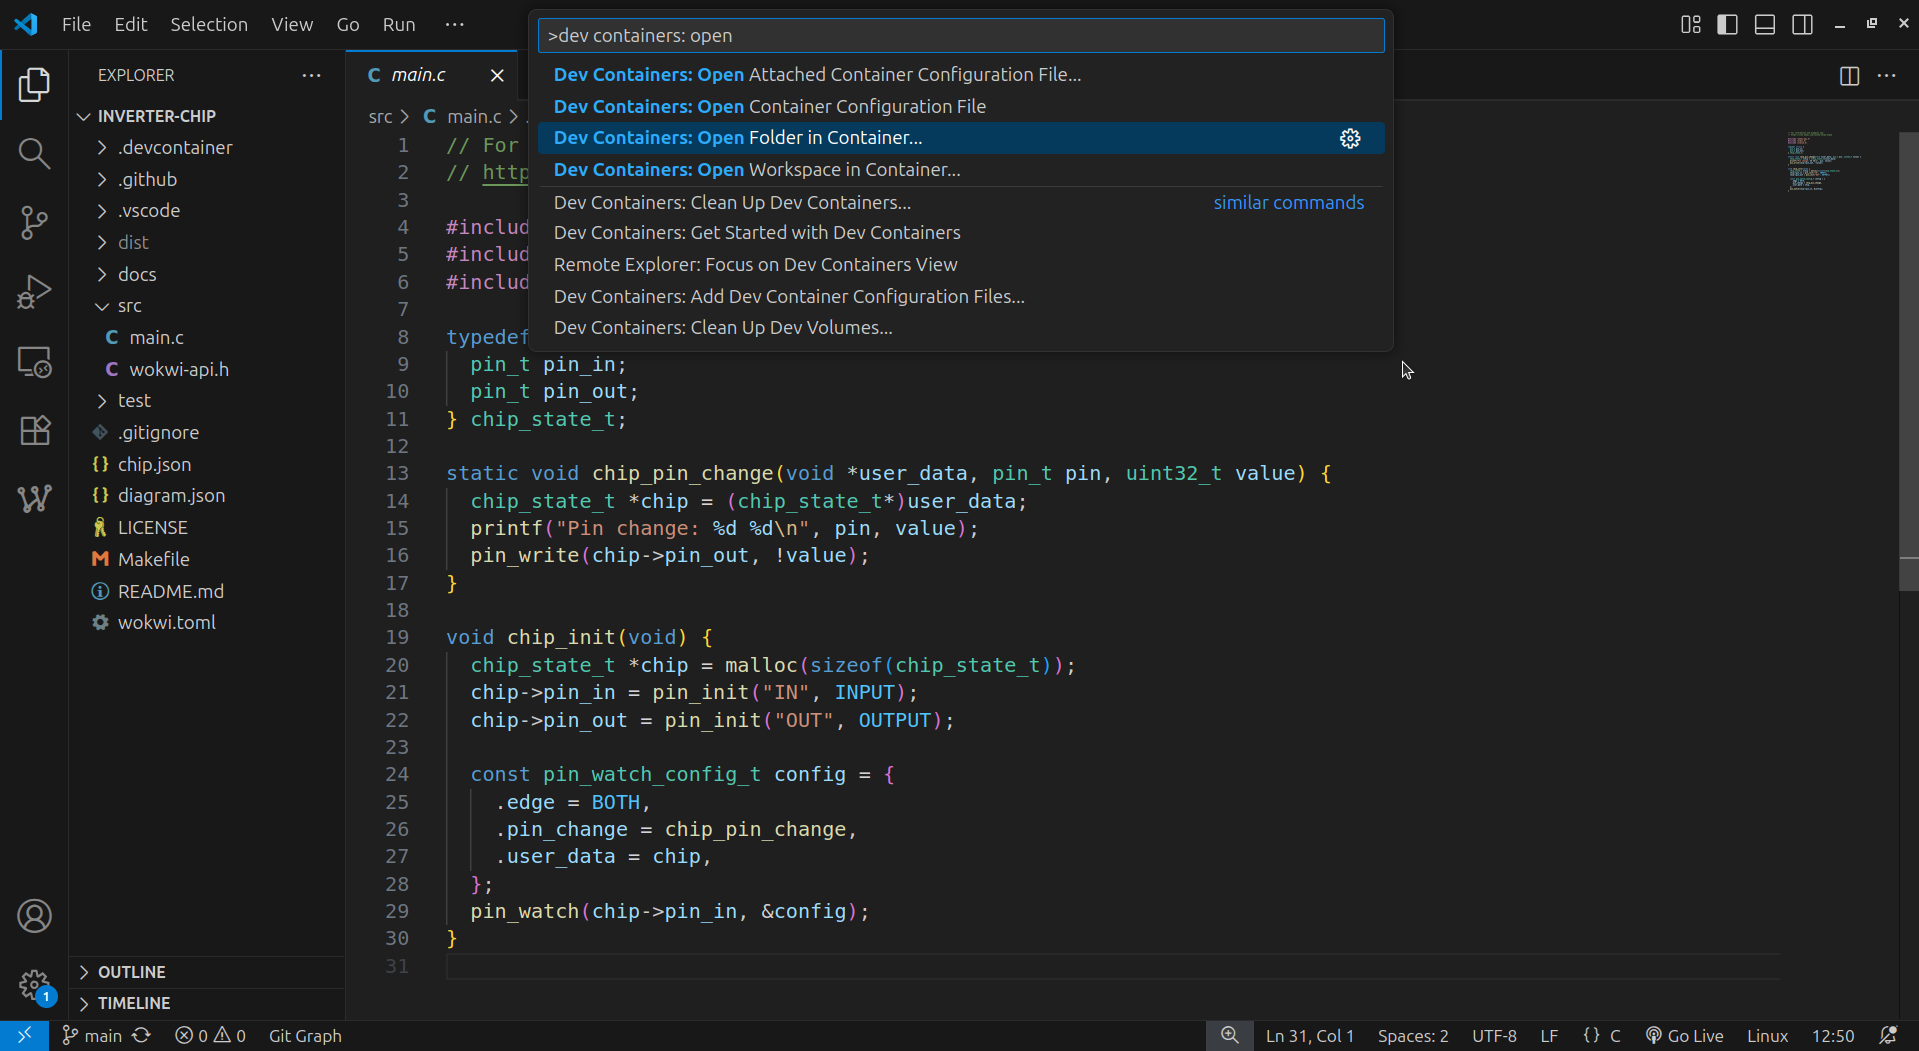
The inverter chip repository comes with a dev container configuration file that will automatically handle setting up a Docker container for you to build your binaries in. To make use of this, simply open the custom chip folder in a container by pressing F1 and searching for "Dev Containers: Open Folder in Container...".
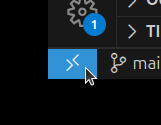
Alternatively, you can click the icon bottom left of the VS Code window, and click on "Reopen in Container".
Once done, you should be presented with a terminal window where you can now run make. This will run the Makefile in
the repository, and your generated WASM files should appear in dist/.
Docker
You can use the prebuilt wokwi/builder-clang-wasm image to compile your project in a Docker environment.
To get started, simply navigate to the root of your project and run:
docker run --rm -u 1000:1000 -v ${PWD}:/src wokwi/builder-clang-wasm:latest make
After fetching the image, this will command automatically execute the Makefile in the project. In the case of the
inverter example, it will create the dist/ directory, compile the binary into dist/chip.wasm and copy chip.json to
dist/.
You can enter an interactive session with the following:
docker run --rm -it -u 1000:1000 -v ${PWD}:/src wokwi/builder-clang-wasm:latest
The argument -u 1000:1000 is required since otherwise you may run into issues with permissions (such as the container
being unable to open files or create directories). If your computer has multiple users, you may have to update
the value to something other than 1000 - check the output of the id command on the host to get the proper value.
Building locally
You will need to configure your environment to be able to build WASM assemblies locally. This part of the documentation is written with Ubuntu/Debian distros in mind, so you may have to adjust these instructions to your machine.
- Install
wasi-libcwithsudo apt install wasi-libc - Install the missing
libclang_rt.builtins-wasm32.alibrary- Download
libclang_rt-27.0.tar.gzfrom the wasi-sdk GitHub releases - Extract
libclang_rt-27.0/wasm32-unknown-wasi/libclang_rt.builtins.ato/usr/lib/llvm-???/lib/clang/???/lib/wasi/
infoReplace the
???in the path above with the currently installed LLVM version number on your system. Check by runningclang -vand looking at the major release number.- Rename the copied file from
libclang_rt.builtins.atolibclang_rt.builtins-wasm32.a
- Download
You can now compile WASM binaries! To test, clone the inverter repository and run
clang --target=wasm32-unknown-wasi -nostartfiles -Wl,--import-memory -Wl,--export-table -Wl,--no-entry -Werror -o dist/chip.wasm src/main.c.
You may have to update the Makefile to remove the --sysroot argument, as wasi-libc will be installed to a different
directory than what --sysroot is set to.
If successful, you should now have chip.wasm under dist/!